
esp-idf-ftp-camera
Take a picture and Publish it via FTP
MIT License
esp-idf-ftp-camera
Take a picture and Publish it via FTP. This project use ESP32 Camera Driver. This project use ESP32-FTP-Client.
Hardware requirements
ESP32 development board with OV2640 camera. If you use other camera, edit sdkconfig.default. From the left:
- Aithinker ESP32-CAM
- Freenove ESP32-WROVER CAM
- UICPAL ESPS3 CAM
- Freenove ESP32S3-WROVER CAM (Clone)
Software requirements
ESP-IDF V5.0 or later. ESP-IDF V4.4 release branch reached EOL in July 2024.
Installation
For AiThinker ESP32-CAM, you need to use a USB-TTL converter and connect GPIO0 to GND.
| ESP-32 | USB-TTL |
|---|---|
| U0TXD | RXD |
| U0RXD | TXD |
| GPIO0 | GND |
| 5V | 5V |
| GND | GND |
git clone https://github.com/nopnop2002/esp-idf-ftp-camera
cd esp-idf-ftp-camera
idf.py set-target {esp32/esp32s3}
idf.py menuconfig
idf.py flash monitor
Start firmware
For AiThinker ESP32-CAM, Change GPIO0 to open and press the RESET button.
Configuration
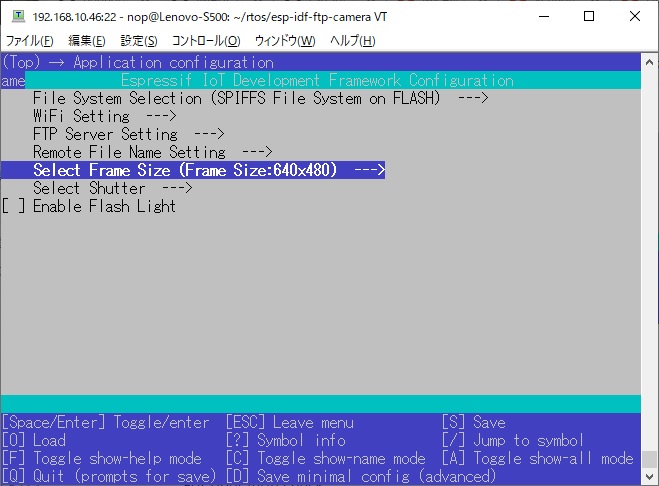
Set the following items using menuconfig.
Wifi Setting
You can connect using the mDNS hostname instead of the IP address.

You can use static IP.

FTP server Setting
You can specify mDNS hostname for the FTP server.

Store pictures in FTP Server subdirectories.

Create index.html on FTP Server.
When your FTP server acts as an HTTP server, You can view picture using browser.

You can specify the rotation of the image.

My FTP server acts as an HTTP server.


Remote File Name Setting
You can choose the file name on the FTP server side from the following.
- Always the same file name
- File name based on date and time
When you choose date and time file name, you will need an NTP server.
The file name will be YYYYMMDD-hhmmss.jpg.
- Add FrameSize to Remote file Name
When this is enabled, FrameSize is added to remote file name like this.
20210520-165740_800x600.jpg
Select Board
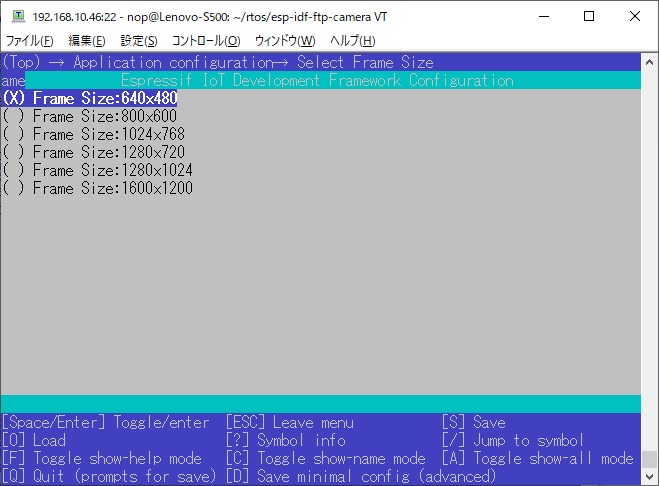
Select Frame Size
Large frame sizes take longer to take a picture.
Select Shutter
You can choose one of the following as shutter
- Shutter is the Enter key on the keyboard
For operation check.
When using the USB port provided by the USB Serial/JTAG Controller Console, you need to enable the following line in sdkconfig.
CONFIG_ESP_CONSOLE_USB_SERIAL_JTAG=y
-
Shutter is a GPIO toggle
-
Initial Sate is PULLDOWN The shutter is prepared when it is turned from OFF to ON, and a picture is taken when it is turned from ON to OFF.
-
Initial Sate is PULLUP The shutter is prepared when it is turned from ON to OFF, and a picture is taken when it is turned from OFF to ON.
-
I confirmed that the following GPIO can be used.
| GPIO | PullDown | PullUp |
|---|---|---|
| GPIO12 | OK | NG |
| GPIO13 | OK | OK |
| GPIO14 | OK | OK |
| GPIO15 | OK | OK |
| GPIO16 | NG | NG |
- Shutter is TCP Socket
You can use tcp_send.py as shutter.
python3 ./tcp_send.py
- Shutter is UDP Socket
You can use this command as shutter.
echo "take" | socat - UDP-DATAGRAM:255.255.255.255:9876,broadcast
You can use udp_send.py as shutter.
Requires netifaces.
python3 ./udp_send.py
- Shutter is HTTP Request
You can use this command as shutter.
curl "http://esp32-camera.local:8080/take/picture"
- Shutter is MQTT Subscribe
You can use this command as shutter.
mosquitto_pub -h broker.emqx.io -p 1883 -t "/take/picture" -m "take picture"
The firmware can be restarted when disconnected from the MQTT server.
- Shutter is Remote file polling
Take a picture if there is a file on the FTP server.
Check if the file exists at 10 second intervals.
You can choose to create a file or delete a file.
If you use Android, deleting files is easier.

Flash Light
ESP32-CAM by AI-Thinker has a flash light on GPIO4.
PSRAM
When you use ESP32S3-WROVER CAM, you need to set the PSRAM type.
Take picture using flask application
You can use flask application. read this.
View picture using Built-in WEB Server
ESP32 works as a web server. You can view the pictures taken using the built-in WEB server. Enter the ESP32's IP address and port number in the address bar of your browser. You can connect using mDNS hostname instead of IP address.
Take pictures using Android
I use API Tester: HTTP Client app. You can download from Google Play. This app can easily issue HTTP requests. You can easily take pictures by setting HTTP Request to shutter. However, on Android, name resolution by mDNS is not possible.
Take & view pictures using Android
I use X-plore File Manager app. You can download from Google Play. This app can easily view the files on the FTP server. This app can easily delete files on FTP server. It's much easier to delete a file than to create a new one. You can easily take pictures by setting remote file deletion to shutter. You can operate the ESP32 with just your fingertips. If you use a rental server, you can take pictures of London from New York. Very Good!!