
Gemeralds
Pinball game using CocosBuilder and Chipmunk Pro to make the collision geometry.
p=. !http://files.slembcke.net/upshot/upshot_gemeralds.png!
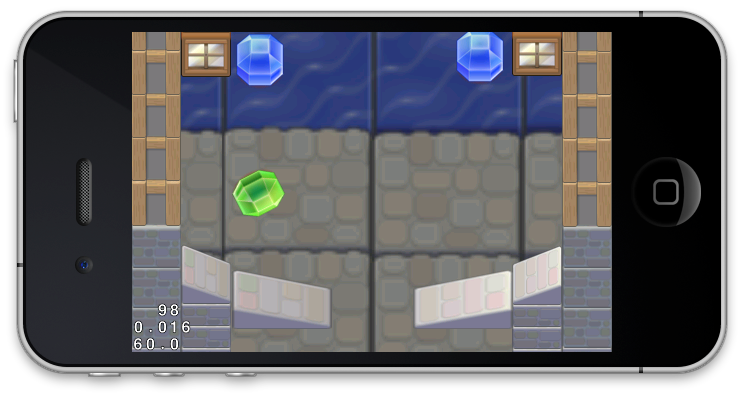
h1. Gemeralds Pinball
A Chipmunk Pro autogeometry / Cocos2D 2.0 example project using CocosBuilder for creating the levels.
h2. Overview:
This is a Chipmunk Pro autogeometry demo project that is built on top of Cocos2D 2.0 and CocosBuilder. The focus for this demo is to show how simple it can be to generate collision geometry for a scene made in CocosBuilder. Additionally, there are organizational challenges when working with CocosBuilder. You need to provide the Chipmunk objects through the Cocos heirarchy.
The level geometry is extracted from the sprites in the CocosBuilder scene (specifically the children of the GeometryNode). This makes it really to change the level's collision geometry without needing to do any extra work. Just add sprites to the scene (scaled, rotated and skewed how you want) and they will show up as solid objects to the physics.
This example builds on the GLRenderBufferSampler class from CloudBomber. It's possible to mix the two techniques if you want to have deformable level geometry that was constructed in CocosBuilder.
h2. How it works:
Chipmunk Pro allows you to trace images (or procedural functions) to turn them into geometry. For Objective-C, it comes with a few handy wrapper classes that make this easy to do. The included class, ChipmunkGLRenderBufferSampler, sets up an offscreen OpenGL rendering buffer that is used as a bitmap image source. You can then simply call Cocos2D code while the sampler is bound and the pixels are copied into sampler and are ready to be marched (extracting the contours)!
While it's somewhat expensive to transfer the pixels from OpenGL back to the CPU where Chipmunk can use them. This is too slow to perform every frame, but works perfectly fine at load time and works pretty good if you only need to change the world once in a while.
Credits:
- "Planet Cute" sprites and tiles from: http://www.lostgarden.com/2007/05/dancs-miraculously-flexible-game.html
- Pinball sound effects from: http://www.pdsounds.org/tag/pinball